
Through testing, we've come up with our top method for wax sealing dried flowers, experimented with opaque wax, and shared some advice for troubleshooting common issues.
How To Wax Seal Dried Flowers
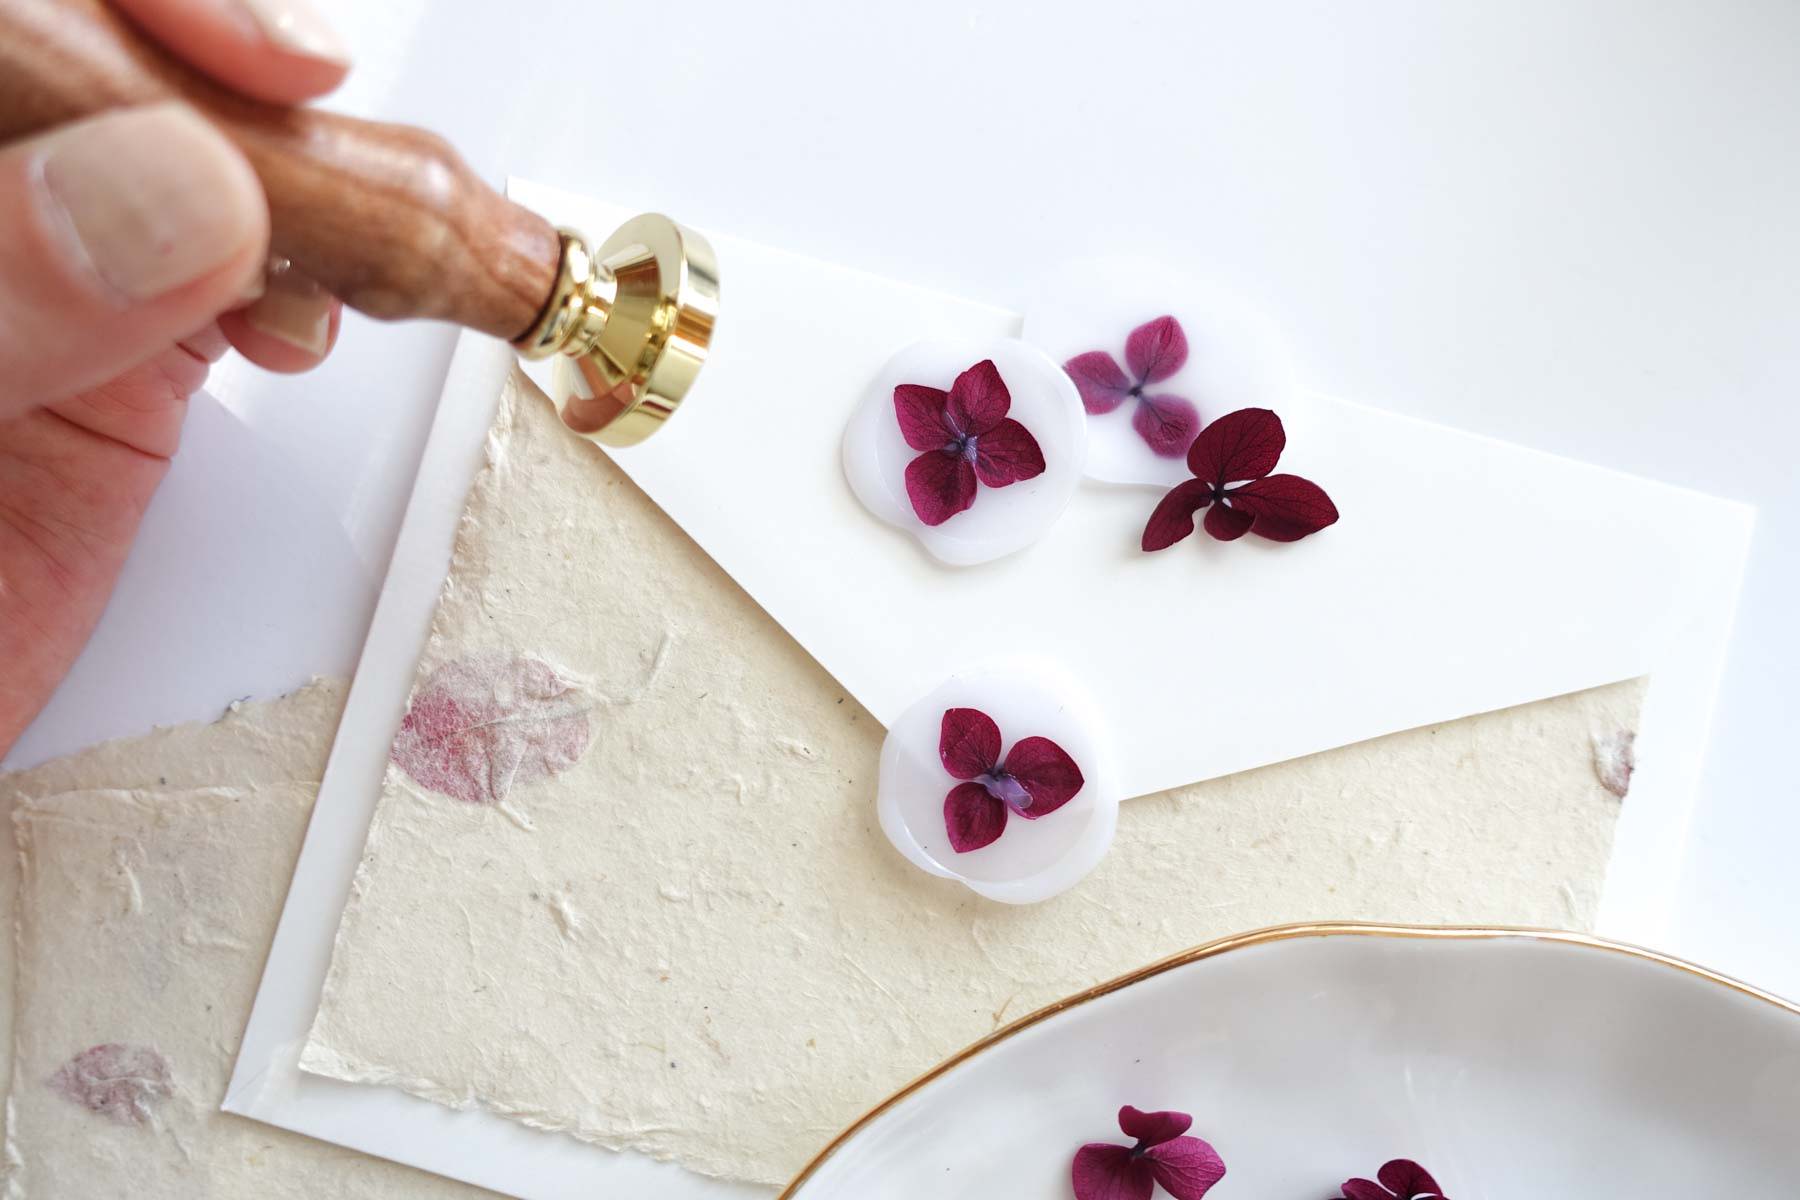
DO YOU ADD THE FLOWER BEFORE OR AFTER POURING THE WAX?
These are the two methods that I tested out:
- Place the flower where you would like to create the seal. Pour wax on top of it. Stamp the wax.
- Pour the wax where you would like to create the seal. Add the flower. Stamp the wax.
I've shared the video showing the outcomes. After trying both methods, I found the second method (adding the flower after pouring the wax) to be a lot easier to do; it resulted in a rounder wax seal, and a flower that was more centred in the middle of the seal. The pretty veins in the petals could also be clearly seen, but there was some wax overflow where the centre of the flower was. 🌸
Having said that, I loved how the first method (adding the flower before pouring the wax) resulted in a smoother finish, with the flower totally encased inside. It also meant the wax seal would be less fragile, and the flower preserved for longer.
Many of you commented, asking me to try a third method which essentially combined the first two methods. I thought that was a great idea, so here's how it went.
This is the next method that I tried:
3. Pour the wax where you would like to create the seal. Add the flower. Pour more wax. Stamp the wax.
In my first failed attempt, I didn’t pour enough wax on top of the flower, so it wasn’t completely sealed. It basically resulted in the same outcome as Method 2. I found it to be quite tricky to get the second pour exactly right so that the flower was completely sealed within it. The following video showed my next attempt, which was successful.
I wouldn’t say that this is a foolproof, or the best way to seal dried hydrangeas (as there is still some luck and skill involved in how much and where to pour the wax). Method 3 is easier, and gives better results than Method 1 because the first wax pour allows you to centre the flower and holds it in place for the second pour.
Personally, I like to use Method 2. I feel that having the top of the flower exposed adds texture and character to the wax seal, plus it doesn't mute the vibrancy of the dried flower. (Note, this method only works with pre-dried flowers. Any parts of fresh flowers that are exposed to air may brown and wilt). I would recommend you try out all the methods to see what's easiest for you to achieve, and what look you like best.
WILL DRIED FLOWERS WORK WITH OPAQUE WAX?
I made this video in response to a question I received about whether our dried hydrangea flowers would work with opaque wax (as opposed to the semi transparent wax which I usually use). It was a good question so I decided to test it and find out! Lots of you voted in the Instagram poll saying that you thought it would, so I’d love to know what you think! I think the result is so pretty, especially as I’m a fan of the perfectly imperfect look 🥰
TROUBLESHOOTING WAX SEALING WITH DRIED HYDRANGEAS
There can be a bit of a learning curve when it comes to making your first wax seal. If you're wondering why your wax or flower gets stuck to the stamp when you pull it off, I'm here to share some top wax sealing mistakes and tips on how to avoid them.
If your wax is overheated (smoking and bubbling), or your stamp is too hot (which can happen if you’re making lots of wax seals at a time), or you’re not waiting long enough for the wax to cool before lifting the stamp off, you might not get the results you were expecting.
In this video I share with you my top tips on how to successfully wax seal dried flowers:
- To avoid overheating the wax, hold the spoon slightly above the flame, rather than in the flame. Don't wait until all the wax has melted because by the time that happens, it will be smoking and bubbling. Instead, use something to stir the wax as it melts. If you don't have a stirrer, take the spoon off the heat when the wax has mostly melted and let the residual heat melt the remainder
- Look for a caramel consistency. The wax will be less runny at this consistency, which means it will form a rounder circle when you pour it
- When stamping the wax, allow the edges to fully harden before trying to remove the stamp. It should come off fairly easily after about 30 seconds, when you wiggle it.
Hope these tips helped! I love seeing all the creative projects that you come up with! Feel free to send them via email, social media, or tag me (@fionaariva on Instagram)
FEATURED PRODUCTS
Sold out
Sold out
Sold out
Read more

Business
Small Business packaging ideas | Creative ways to use wax seals in packaging
We love showcasing how our customers get creative with our products. Today's spotlight is on small businesses in our community who use wax sea...
Read more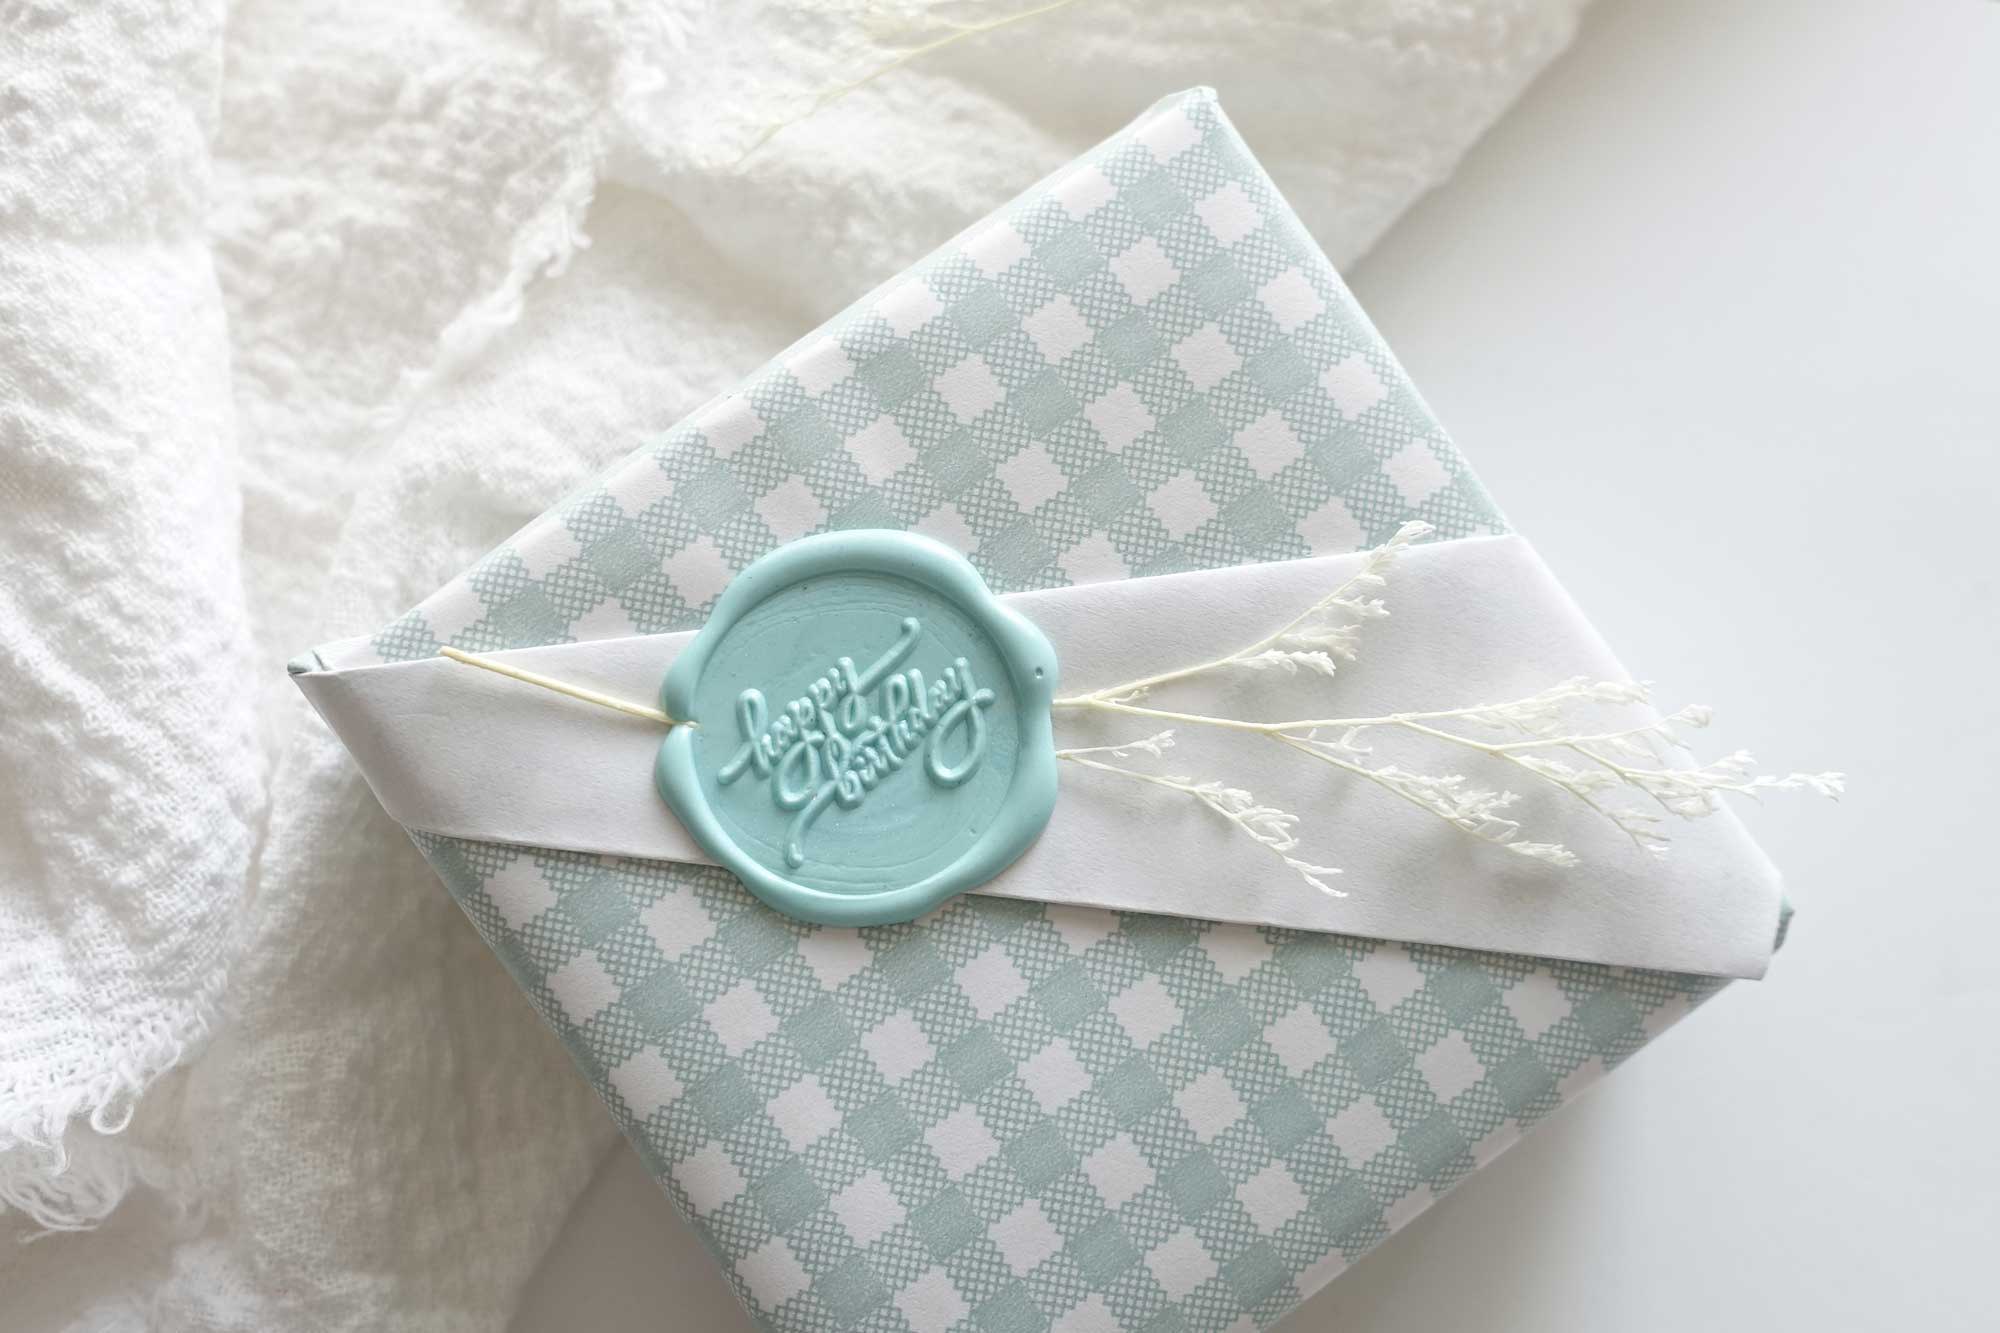
Gift wrapping tutorials
How To Gift Wrap with a Diagonal Contrast Accent Flap
This giftwrapping tutorial features a diagonal contrast accent flap that is perfect for highlighting wax sealed botanical sprigs ...
Read more
Leave a comment
This site is protected by reCAPTCHA and the Google Privacy Policy and Terms of Service apply.